Table of Contents
Are you tired of relying on your DSLR camera’s automatic mode to capture your photographs? Do you want more control over the creative process and ensure that your images turn out exactly as you envision them?
Then it’s time to dive into the world of manual mode. In this beginner’s guide, we will explore the intricacies of mastering manual mode in DSLR photography, giving you the confidence to take full control over your camera settings and capture stunning shots.
When it comes to photography, exposure is key. Understanding how light interacts with your camera sensor is crucial in achieving well-exposed images.
Fine-tuning exposure allows you to strike the perfect balance between highlights and shadows, ensuring that no details are lost in either extreme. Manual mode empowers you to adjust exposure settings according to your desired outcome, whether it be capturing bright and vibrant landscapes or creating moody portraits with dramatic lighting.
To make accurate exposure adjustments, it’s important to comprehend the exposure triangle: aperture, shutter speed, and ISO sensitivity. These three elements work together harmoniously to determine how much light reaches your camera sensor.
Aperture settings control the amount of light entering through the lens by adjusting its diameter. Shutter speed dictates how long the camera’s sensor is exposed to light for each shot.
ISO sensitivity measures how responsive your camera sensor is to available light. Metering modes play a significant role in ensuring accurate exposures as well.
Your DSLR offers various metering modes such as evaluative metering, spot metering, and center-weighted metering that measure light levels across different areas of a scene. Understanding which metering mode suits specific shooting scenarios allows you to achieve consistent results across different lighting conditions.
Achieving sharp focus is another crucial aspect of manual photography that often gets overlooked when relying on autofocus modes alone. By taking control of manual focus, you can ensure that key elements within your frame are precisely sharp while maintaining creative intent or capturing motion blur intentionally.
This level of control is especially vital in genres such as landscape photography, where achieving maximum depth of field or selectively focusing on foreground elements can significantly enhance the overall composition. As a beginner transitioning to manual mode, it’s natural to encounter challenges such as overexposure or underexposure.
Overexposed images result from too much light hitting the camera sensor, causing loss of detail in bright areas. Underexposed images, on the other hand, lack sufficient light and often appear dark with limited shadow detail.
By understanding the exposure triangle and practicing photography techniques with different lighting conditions, you’ll gradually build confidence in balancing exposures effectively. Throughout this guide, we will explore step-by-step instructions on how to master manual mode and unleash your creative potential.
We’ll also delve into practical tips for shooting in manual mode such as avoiding high ISO noise or correcting blurred images caused by slow shutter speeds. So grab your DSLR camera and get ready to take control – manual mode awaits!
Understanding the Exposure Triangle
When it comes to mastering manual mode in DSLR photography, one of the key concepts to grasp is the exposure triangle.
This triangle comprises three fundamental elements: aperture, shutter speed, and ISO sensitivity. Each of these factors plays a vital role in determining the overall exposure and creative look of your photographs.
Let’s delve into each element and understand how they work together. Starting with aperture, this refers to the size of the lens opening that controls how much light enters your camera’s sensor.
It is measured in f-numbers (or f-stops), such as f/2.8 or f/16. A wider aperture (smaller f-number) allows more light into the camera, ideal for low-light situations or when you want a shallow depth of field to blur out backgrounds in portrait photography.
Shutter speed, on the other hand, determines how long your camera’s shutter stays open to expose the sensor to light. It is measured in fractions of a second, such as 1/250 or 1/1000.
Fast shutter speeds freeze motion and are suitable for capturing action shots, while slower speeds create motion blur effects for artistic purposes. ISO sensitivity relates to how sensitive your camera’s sensor is to light.
Lower ISO settings (e.g., ISO 100) are less sensitive but produce cleaner images with less noise, whereas higher ISO settings (e.g., ISO 1600 or beyond) make your camera more receptive to light but can introduce graininess into your photos. To achieve a balanced exposure using these three elements, you need to consider their interplay carefully.
For instance, if you increase your aperture size (wider opening), it allows more light into the camera but reduces the depth of field; compensating by increasing shutter speed can maintain proper exposure while freezing motion if needed. Metering modes offered by DSLR cameras help determine proper exposure by evaluating scene brightness and adjusting settings accordingly.
Evaluative or matrix metering considers the entire frame, spot metering focuses on a specific area, and center-weighted metering emphasizes the central part of the frame. Understanding which metering mode to use in different situations is crucial for accurate exposure.
Learning from photography mistakes is essential as you navigate manual mode. Underexposure occurs when your photo appears darker than desired, while overexposure results in excessively bright images.
Fine-tuning exposure settings through trial and error will help you gain confidence and avoid these common pitfalls. To build confidence in manual mode, practice photography techniques that incorporate different lighting conditions and subjects.
Experiment with adjusting exposure settings for landscape photography or capturing fast-moving subjects like wildlife or sports events. Practice also enables you to understand how changing one element of the exposure triangle affects the others.
Achieving sharp focus is equally important. While autofocus can be convenient, mastering manual focus allows precise control over what you want to emphasize in a scene.
Utilize your camera’s built-in focus-assist tools like magnification or focus peaking to ensure critical elements are crisply captured. Understanding the exposure triangle is fundamental for mastering manual mode in DSLR photography.
By comprehending how aperture, shutter speed, and ISO sensitivity work together, photographers can fine-tune their exposure settings to capture stunning images under various lighting conditions. With practice and perseverance, building confidence in manual mode becomes an attainable goal that opens up a world of creative possibilities behind the lens.
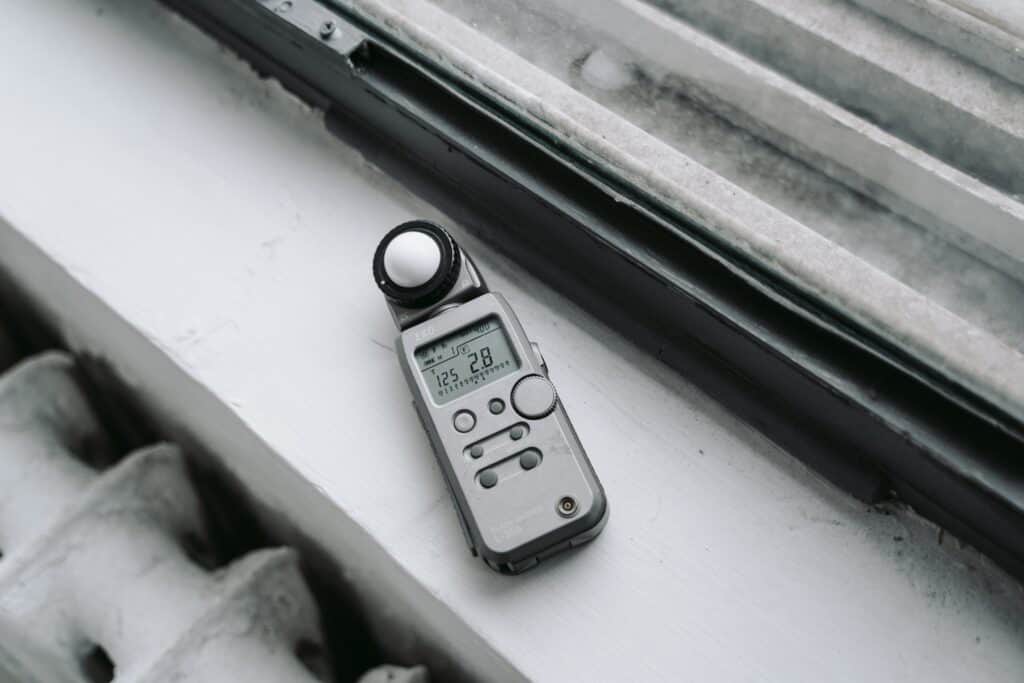
Metering and Light Meter
Understanding light meter readings is crucial in mastering manual mode and achieving well-exposed photographs. The light meter, an essential tool in DSLR cameras, measures the amount of light present in a scene and helps you set the correct exposure settings.
It determines whether your image will be properly exposed, underexposed, or overexposed. To effectively use the light meter, let’s first discuss its three main readings: positive (+), zero (0), and negative (-).
A positive reading indicates that there is too much light in the scene, resulting in overexposure. Conversely, a negative reading means there is not enough light for a proper exposure, leading to underexposure.
The ideal reading falls on zero, indicating that your camera has detected the perfect balance of light. Now that we understand how to interpret the readings from our camera’s light meter let’s explore how to fine-tune exposure using manual mode.
Let’s say you’re shooting a portrait outdoors on a bright sunny day. If your subject appears dark or underexposed in the preview image, adjust either your shutter speed or aperture settings until the meter reads closer to zero.
This will allow more light into the camera, resulting in a properly exposed photo. In low-light situations where natural lighting is scarce or dimly lit interiors, things become trickier.
Your camera may struggle with accurately metering the scene due to lack of sufficient available light. In such cases, consider using manual exposure compensation to slightly increase or decrease your exposure settings based on what you deem appropriate for capturing the mood and details of your subject.
It’s worth noting that different shooting scenarios may require different approaches when it comes to metering modes. For instance, when shooting landscapes with vast dynamic range like sunsets or cityscapes with contrasting lights and shadows, spot metering can be useful.
Spot metering allows you to measure only a specific spot within your frame, helping you achieve accurate exposure for a particular subject or area of interest. Remember, mastering the light meter and understanding its readings is a skill that comes with practice.
Correcting blurred images, learning from photography mistakes, and experimenting with exposure settings will help you gain confidence in choosing the right shutter speed, aperture, and ISO sensitivity for any given situation. Understanding how to utilize your camera’s light meter effectively is an important step towards becoming proficient in manual mode photography.
White Balance
One of the key elements in achieving accurate and natural-looking colors in your photographs is white balance.
Have you ever taken a photo indoors, only to find that the colors appear too warm or too cool? That’s because different light sources have varying color temperatures, which can affect the overall look of your images.
But fear not! Understanding and adjusting white balance settings on your DSLR camera is easier than it sounds.
To put it simply, white balance refers to the adjustment of colors in an image to ensure that whites appear truly white. Your camera has a variety of preset white balance options such as sunlight, cloudy, shade, fluorescent, and tungsten.
These presets are designed to compensate for different lighting conditions and provide you with accurate color reproduction. However, sometimes these presets may not accurately capture the true colors of a scene.
In manual mode, you have greater control over fine-tuning your white balance settings. By using a reference object that is pure neutral gray or pure white (such as a gray card or a piece of white paper), you can set a custom white balance for each unique lighting situation.
This will allow your camera to accurately interpret the color temperature of the scene and reproduce more natural-looking colors. Keep in mind that incorrect white balance settings can lead to undesirable results in your photos.
For instance, if you’re shooting indoors under artificial lighting and forget to adjust the white balance from daylight to tungsten mode, your images may end up with an unpleasant blueish tint. Similarly, shooting outdoors on a cloudy day with the sunlight preset selected can result in overly warm tones.
Experimenting with different white balance settings is important for achieving desired results. Don’t be afraid to try out various presets or set custom values until you find what works best for each specific situation.
If shooting raw files instead of JPEGs, you’ll have even more flexibility during post-processing to fine-tune your chosen white balance. Remember, white balance is a vital aspect of capturing accurate colors and conveying the intended mood in your photographs.
Understanding how different lighting conditions affect your camera’s interpretation of colors and taking control of the white balance settings will significantly enhance the quality and impact of your images. So take some time to explore this fascinating aspect of photography, and watch as your shots come to life with vibrant, true-to-life colors!
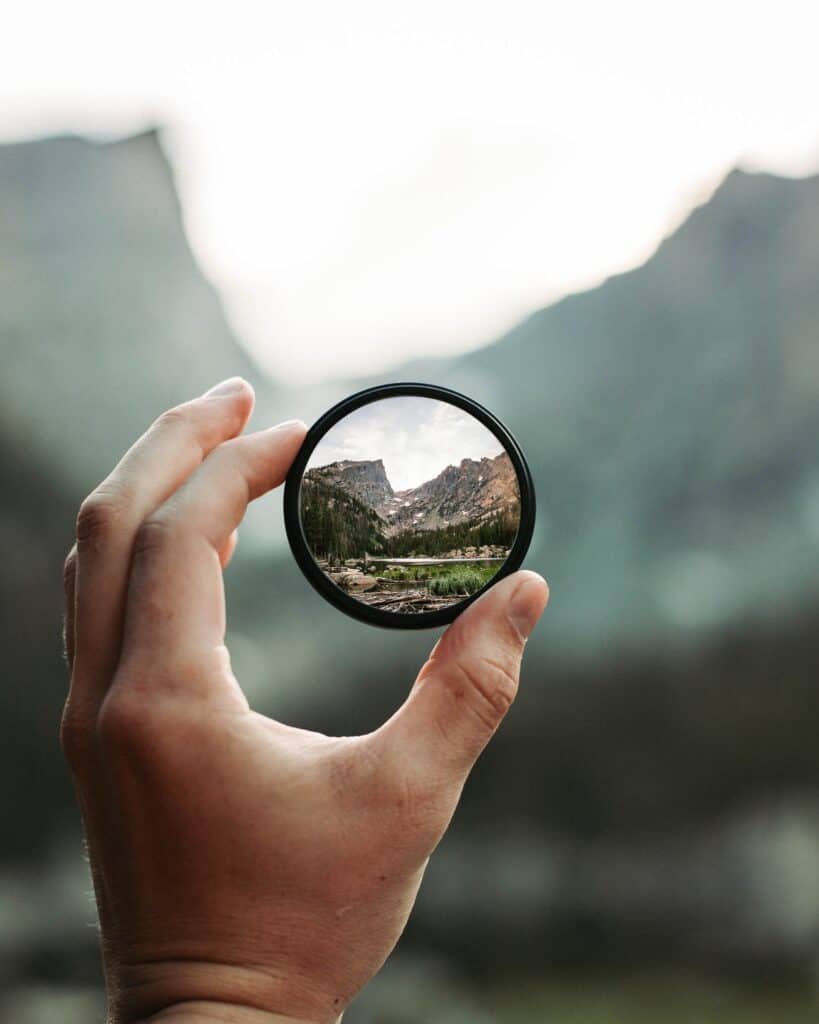
Focusing Techniques
Achieving sharp focus is crucial in photography, as it determines the clarity and detail of your subjects.
Whether you’re capturing a stunning landscape or a captivating portrait, understanding different focusing techniques will greatly enhance your images. One important decision to make is whether to rely on autofocus or manual focus.
While autofocus can be handy in certain situations, manual focus provides you with greater control and precision. When you decide to use manual focus, start by understanding how your DSLR camera settings affect the focusing process.
The viewfinder will display a range of numbers that indicate the distance between the camera and the subject in meters or feet. By turning the focus ring on your lens, you can adjust this distance until your subject appears sharp.
It may take some practice to get comfortable with this process, but don’t be discouraged if you make mistakes along the way – learning from photography mistakes is an essential part of growth. To improve your focusing skills further, practice different photography techniques that require distinct approaches to achieve optimum sharpness.
For landscape photography, where you typically want everything in focus from foreground to background, using a small aperture setting (high f-number) will increase the depth of field and ensure sharpness throughout the frame. On the other hand, portrait photography often calls for a shallow depth of field to create an appealing bokeh effect behind your subject.
Here, using a wider aperture (low f-number) will help isolate your subject while keeping them sharp. Another aspect worth mentioning is motion control when it comes to focusing techniques.
If you’re photographing moving subjects or capturing action shots, adjusting your shutter speed becomes crucial. A fast shutter speed freezes motion and helps maintain sharpness even with quick movements involved.
However, keep in mind that faster shutter speeds may reduce the amount of light entering your camera sensor; thus fine-tuning exposure through adjustments in ISO or aperture might be necessary. In low-light situations where achieving accurate focus can be challenging, consider using a flashlight or headlamp to illuminate your subject temporarily.
This allows your camera’s autofocus system to lock onto the subject more easily. If autofocus struggles in these conditions, switch to manual focus and take advantage of the increased control you have over achieving sharpness.
By understanding the relationship between focusing techniques, camera settings, and lighting conditions, you can gradually build confidence in manual mode. With time and practice, you will be able to effortlessly adjust your focus for different genres of photography and various scenarios.
Remember that mastering manual mode is a step-by-step process that requires patience and dedication; don’t hesitate to experiment and push yourself creatively. As you gain proficiency in focusing techniques, your images will become sharper, clearer, and more captivating than ever before.
Mastering Manual Mode: Step-by-Step Guide
Now that we have covered the basics of the exposure triangle and familiarized ourselves with metering and light meter, it’s time to dive into the heart of manual mode photography. In this step-by-step guide, we will walk you through the process of adjusting your camera settings to achieve perfect exposure in any situation.
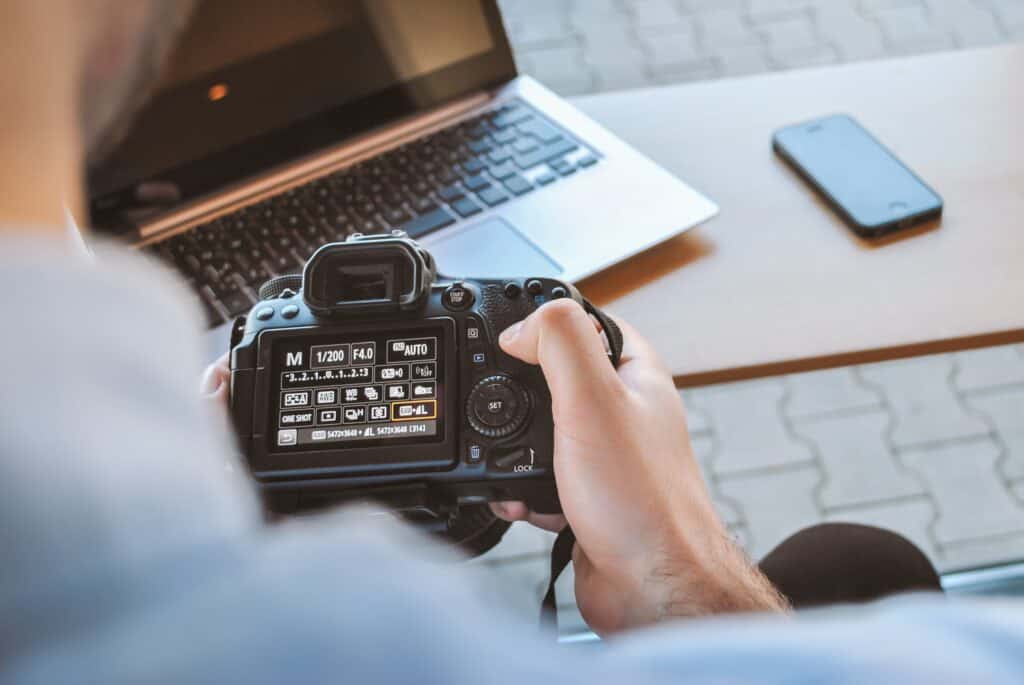
Step 1: Set your camera to manual mode To begin, switch your camera’s mode dial to “M” for manual.
This gives you full control over all exposure settings, allowing you to fine-tune each parameter according to your creative vision. Manual mode is the go-to setting for photographers seeking ultimate control over their images.
Step 2: Adjust ISO sensitivity Next, determine the appropriate ISO sensitivity for your shot.
Keep in mind that higher ISO values introduce more noise into your image, so try to keep it as low as possible while maintaining a well-exposed shot. If you’re shooting in low-light conditions or need a faster shutter speed, you may need to increase the ISO.
Step 3: Select an appropriate shutter speed Shutter speed plays a crucial role in controlling motion blur and capturing sharp images.
If you’re photographing a static subject or shooting with a tripod, a slower shutter speed can be used without worry of blur. However, if there is movement involved, such as capturing sports or wildlife photography handheld, opt for a faster shutter speed to freeze action.
Step 4: Adjust aperture for depth of field Aperture controls how much of your scene is in focus and also influences how much light reaches the sensor.
A wider aperture (small f-number) creates a shallower depth of field with blurred backgrounds, ideal for portrait photography. On the other hand, if you want everything in focus like in landscape photography, choose a narrower aperture (higher f-number).
Step 5: Fine-tune exposure using light meter readings Now it’s time to fine-tune your exposure settings using the light meter readings.
Aim for a balanced exposure where the meter is centered at zero. If the meter indicates underexposure, adjust your settings by increasing the ISO, slowing down the shutter speed, or widening the aperture.
Conversely, if it shows overexposure, decrease ISO sensitivity, increase shutter speed, or narrow the aperture. As you practice photography techniques with manual mode, you’ll become more confident in adjusting these settings on-the-fly according to different lighting conditions and subjects.
Remember that mastering manual mode requires patience and experimentation. Take your time to review each image and learn from any mistakes.
By following this step-by-step guide and applying what you’ve learned about adjusting exposure settings, you’ll soon be able to capture stunning images in any situation. Whether it’s freezing fast-moving subjects with a high shutter speed or achieving a shallow depth of field for beautiful bokeh in portrait photography, manual mode empowers you to unleash your creativity and bring your vision to life.
Practical Tips for Shooting in Manual Mode
When it comes to shooting in manual mode, there are several practical tips that can help you navigate the complexities and unleash your creative potential. Whether you’re capturing stunning landscapes or candid portraits, these tips will come in handy and elevate your photography skills to the next level.
1. Mastering the Exposure Triangle: Understanding the relationship between aperture, shutter speed, and ISO sensitivity is essential for achieving proper exposure. Experiment with different combinations to achieve the desired effect.
For example, in low-light situations, you may need to increase your ISO sensitivity while maintaining a wider aperture and slower shutter speed for proper exposure. 2. Fine-Tuning Exposure: While relying solely on your camera’s light meter is convenient, it’s not always accurate.
Learning to interpret light meter readings can help you make informed adjustments to avoid underexposure or overexposure. In tricky lighting conditions or high-contrast scenes, use spot metering or exposure compensation for more precise control over your exposure.
3. Motion Control: Controlling motion is crucial in photography, especially when shooting subjects in action or capturing long-exposure images like star trails or flowing waterfalls. Adjusting your shutter speed allows you to freeze motion at faster speeds or create beautiful motion blur effects at slower speeds.
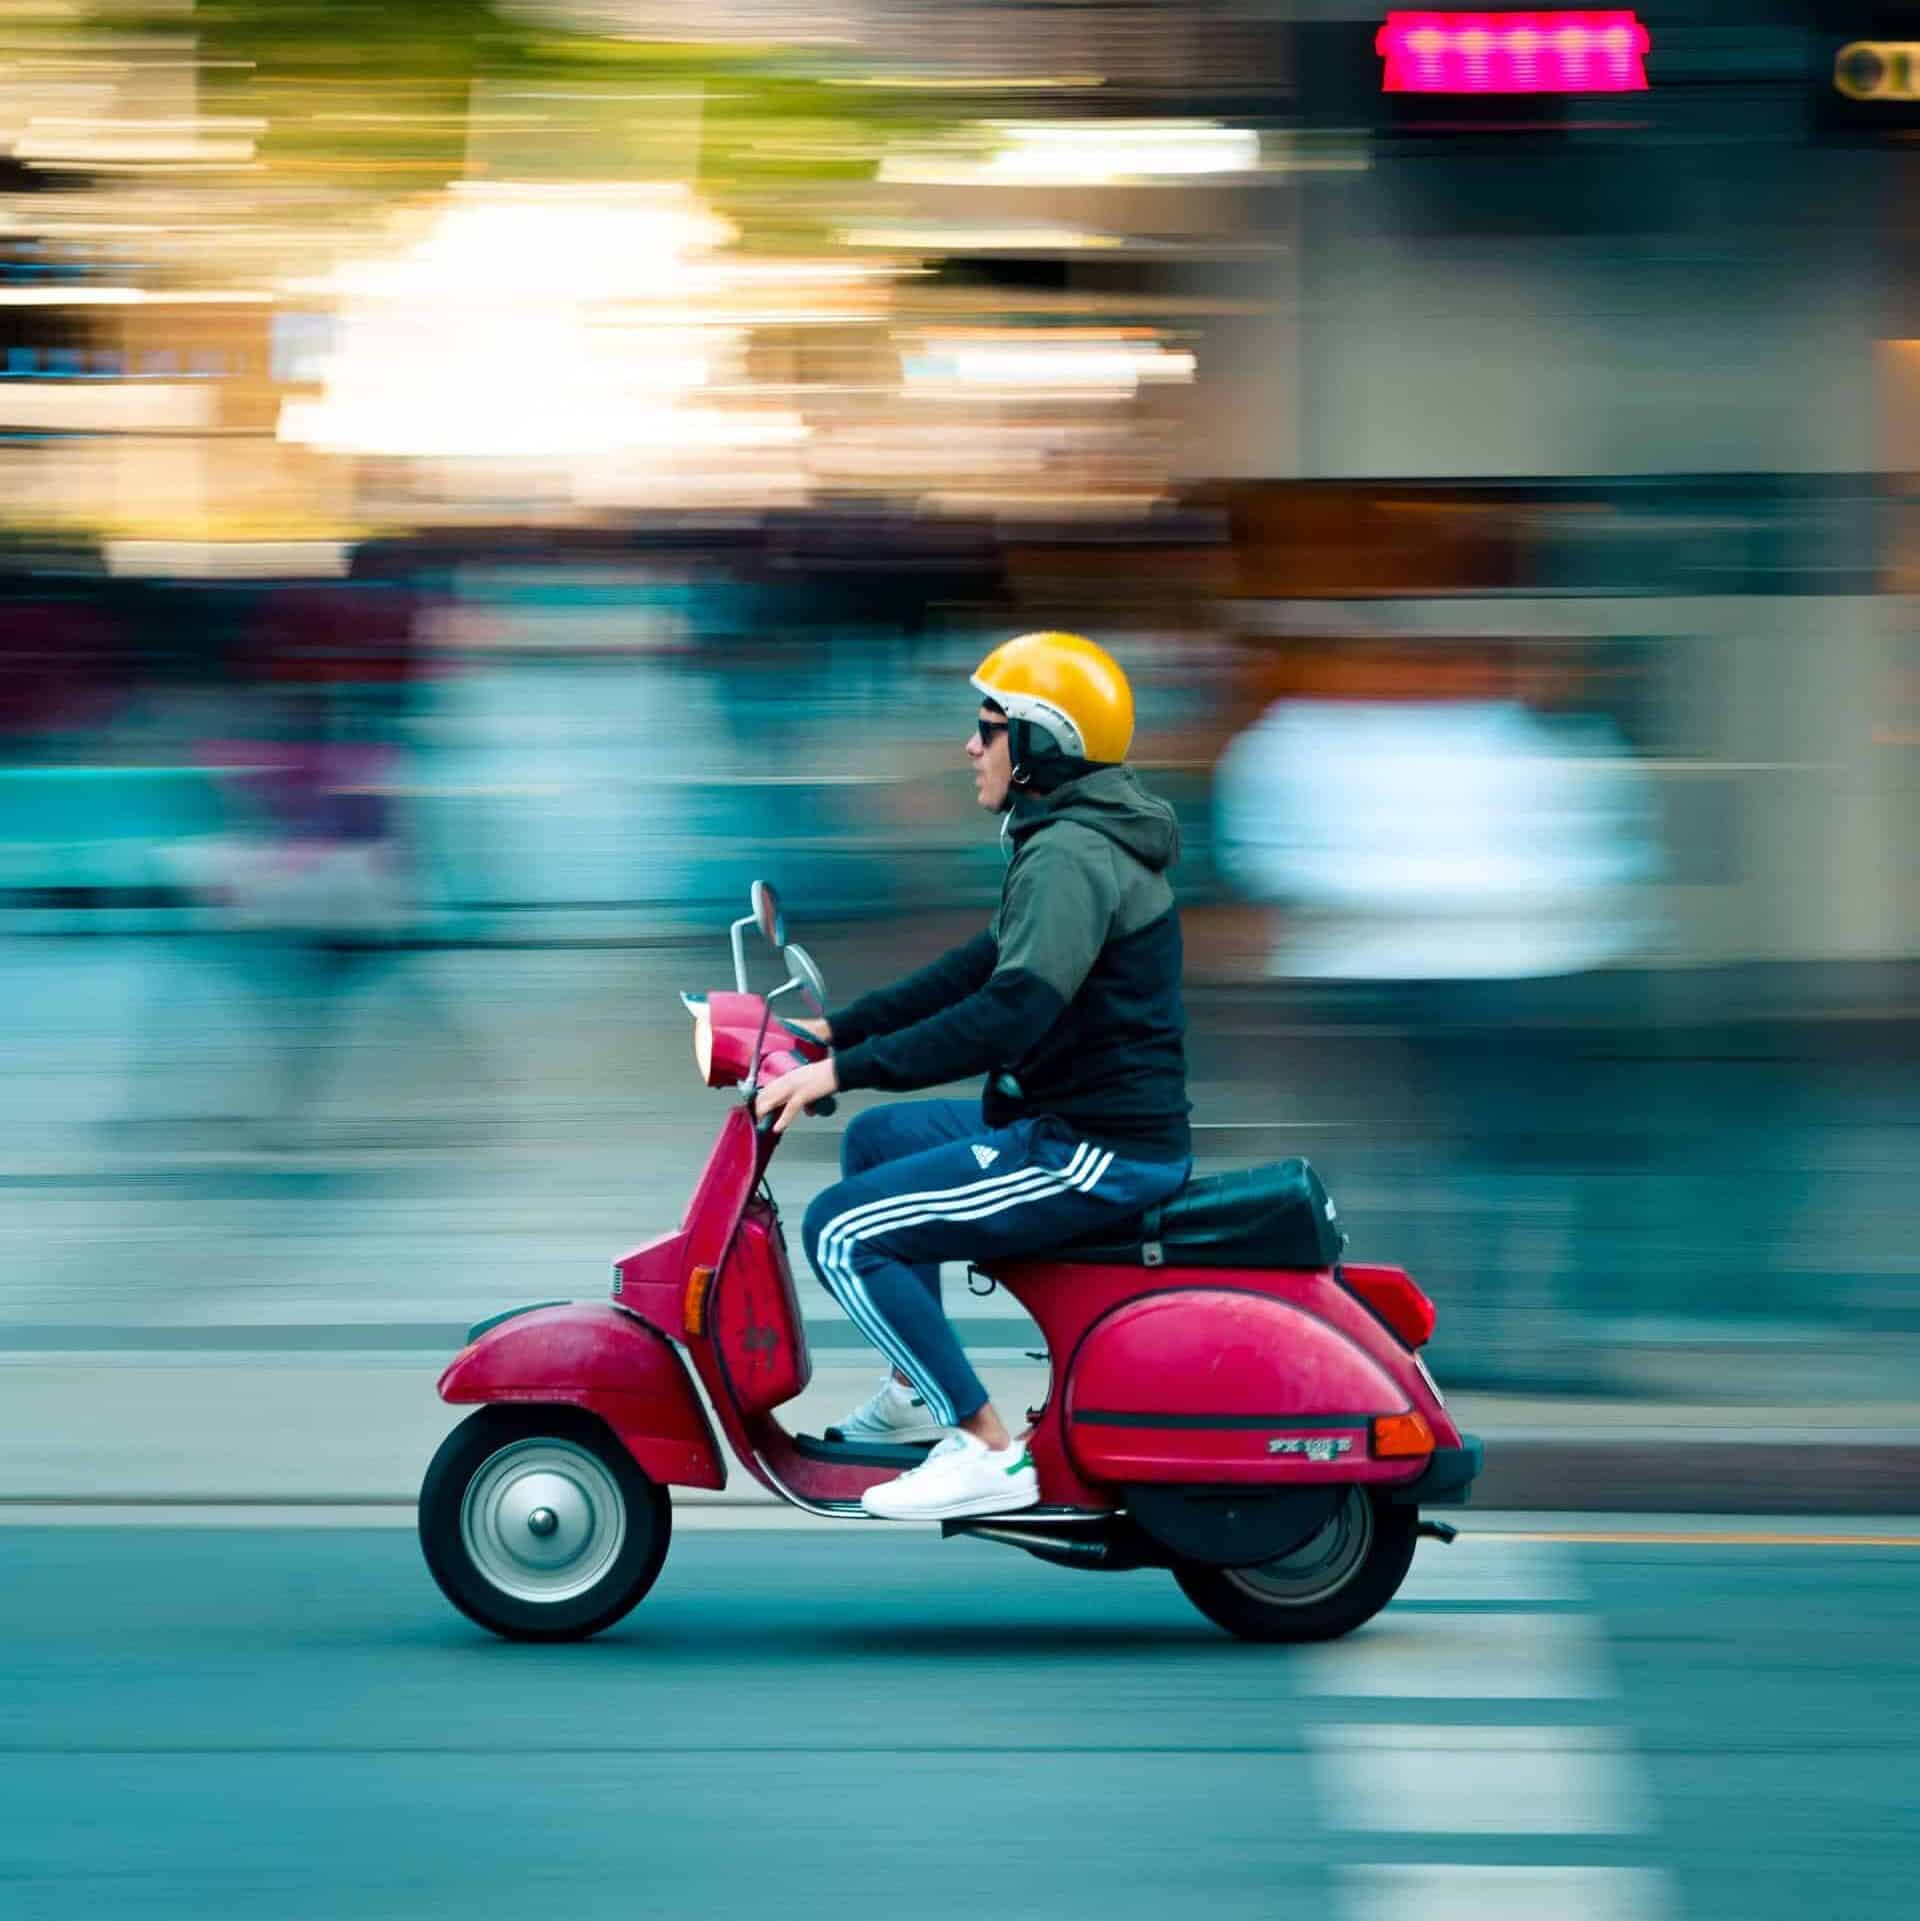
4. White Balance: Proper white balance ensures that colors appear as they should in your photographs. Depending on the lighting conditions, adjusting this setting accordingly will prevent unnatural color casts, such as blue tones under fluorescent lights or yellowish hues indoors.
5. Autofocus vs. Manual Focus: While autofocus can be reliable in many situations, there are times when manually focusing yields better results—particularly when shooting subjects through obstructions or capturing macro shots where precise focus is essential. Building confidence in manual mode takes practice and patience; don’t be discouraged if your initial attempts don’t meet your expectations!
Start by familiarizing yourself with each camera setting mentioned above and experiment with different combinations until you feel comfortable making adjustments on the fly. To build your skills, dedicate time to practice photography techniques that interest you.
Focus on refining your composition, exploring different lighting conditions, and utilizing depth of field creatively by adjusting your aperture settings. If you find yourself consistently getting blurred images, check your shutter speed.
Using a tripod or practicing proper handheld shooting techniques can help stabilize your camera and prevent unintentional blurring. Remember that exposure is a balancing act between aperture, shutter speed, and ISO sensitivity.
If you notice your images consistently underexposed or overexposed, assess each element of the exposure triangle to find the optimal balance for your desired effect. Don’t underestimate the power of practice.
Take every opportunity to shoot in manual mode and push yourself outside of your comfort zone. With time and dedication, you will develop an intuitive understanding of how to capture stunning photographs in any situation.
So grab your DSLR camera settings in manual mode and embark on an exciting journey where you have complete control over each shot. Embrace the challenges with enthusiasm and revel in the joy of capturing breathtaking moments while honing your skills as a photographer.
Troubleshooting Common Manual Mode Mistakes
One of the biggest challenges beginners face when venturing into manual mode is making mistakes.
Don’t worry, though – it’s all part of the learning process! Let’s delve into some common mistakes and how to troubleshoot them, so you can develop your skills and become a master of manual mode.
1. Overexposure: Have you ever taken a photo only to find it looks washed out and lacking detail? Overexposure occurs when too much light enters the camera, resulting in a brighter image than intended.
To fix this, first check your exposure triangle – adjust your aperture settings to a smaller f-stop number (larger aperture) or decrease the shutter speed. Additionally, consider lowering your ISO sensitivity if you’re shooting in bright conditions.
2. Underexposure: On the other hand, underexposure happens when there is not enough light in your photo, leading to dark and shadowy images. To correct this mistake, try increasing your ISO sensitivity for better low-light performance or select a larger aperture (smaller f-stop number) to allow more light into the camera.
Alternatively, you can slow down the shutter speed as long as it doesn’t introduce motion blur. 3. Achieving Sharp Focus: Blurry photos can be frustrating, but fear not; achieving sharp focus takes practice and patience!
If autofocus isn’t delivering the desired results, consider switching to manual focus for more control over what’s in focus in your frame. Take advantage of live view mode on your DSLR camera settings – zoom in on your subject using the LCD screen or electronic viewfinder and manually adjust until crisp details appear.
4. Metering Modes: Understanding light meter readings is essential for properly exposing an image. Many beginners struggle with metering modes such as spot metering, matrix metering, or center-weighted metering.
Experiment with different modes and understand how each one affects exposure calculations. For example, spot metering measures light from a small area, while matrix metering evaluates the entire frame.
Knowing when to use each mode will help you capture more accurate exposures. 5. Avoiding High ISO Noise: In low-light situations, it’s tempting to crank up the ISO sensitivity to brighten your images.
However, high ISO settings can introduce noise, reducing the overall image quality. To minimize noise while shooting in manual mode, try using a wider aperture (lower f-stop number) or slower shutter speed to allow more light into the camera without drastically increasing ISO sensitivity.
Remember that building confidence in manual mode takes time and practice photography techniques regularly. Be patient with yourself and don’t be afraid to make mistakes – they’re invaluable learning experiences!
Understanding and troubleshooting these common mistakes will help you overcome challenges as you continue your journey toward becoming a skilled photographer in both portrait and landscape photography. Learning from photography mistakes is an essential part of growing as an artist.
Embrace the process and keep experimenting with different DSLR camera settings until you achieve the desired results. With persistence and dedication, mastering manual mode will open up endless creative possibilities for capturing stunning photographs that truly reflect your vision as a photographer.
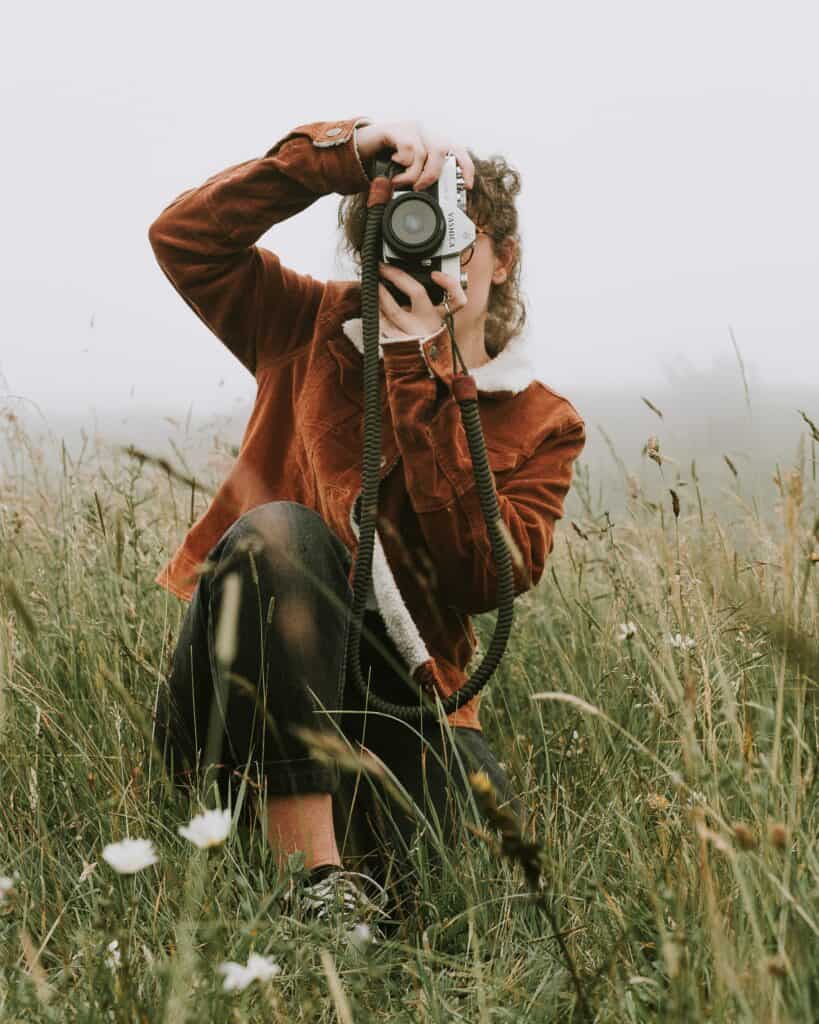
Practice and Patience: Becoming Proficient in Manual Mode
Becoming proficient in manual mode requires practice and patience. It’s not something that can be mastered overnight, but with dedication and perseverance, you can build confidence in your ability to shoot in manual mode and capture stunning photographs. One of the key aspects of practicing manual mode is understanding light meter readings.
Your camera’s light meter helps you determine the correct exposure by measuring the amount of light falling on your subject. By paying attention to the light meter readings, you can fine-tune your exposure settings to achieve the desired results.
For example, if you’re shooting a portrait in a low-light situation, you might need to increase your ISO sensitivity or widen your aperture settings to let more light into the camera. Achieving sharp focus is another critical skill that comes with practice.
In manual mode, you have complete control over where to focus in your frame. Whether it’s capturing intricate details in a landscape photograph or ensuring crystal-clear eyes in a portrait shot, mastering autofocus vs. manual focus techniques will greatly enhance the sharpness of your images. In addition to focusing techniques, motion control is also essential when shooting in manual mode.
Understanding how shutter speed affects motion blur allows you to create intentional effects or freeze action when necessary. By experimenting with different shutter speeds while keeping an eye on how it affects your composition, you can capture dynamic shots or convey a sense of movement.
Correcting blurred images is another skill that requires practice and patience. In manual mode, there may be instances where underexposure or overexposure leads to blurry results due to longer exposure times or improper use of aperture settings.
Learning how to troubleshoot these issues by adjusting exposure settings accordingly will help improve the overall quality of your photographs. Practicing photography techniques specific to different genres such as portrait photography and landscape photography will refine your skills further.
Each genre has its own unique challenges and requirements when shooting in manual mode. By dedicating time and effort into understanding and practicing these techniques, you’ll be able to capture stunning images that truly showcase your vision.
Remember, practice makes perfect. The more you shoot in manual mode, the more comfortable you will become with your DSLR camera settings.
Over time, you’ll develop an intuitive understanding of how different variables like aperture, shutter speed, and ISO sensitivity work together to create the desired exposure. So grab your camera and start practicing – the world is waiting for you to capture its beauty through the lens of manual mode!
Summary
Mastering manual mode in DSLR photography is not an overnight achievement. It requires practice, patience, and a willingness to learn from your mistakes.
Understanding the exposure triangle and how aperture, shutter speed, and ISO sensitivity work together is crucial for fine-tuning your exposure settings. By taking control of these settings, you can unleash your creativity and capture stunning images in any lighting conditions.
Building confidence in manual mode takes time, but with each shot you take and each adjustment you make, you’ll become more familiar with your camera’s capabilities. Practice photography techniques like adjusting the white balance for accurate colors and experimenting with different metering modes to ensure correct exposure.
Don’t be afraid to experiment with different settings and take risks; that’s how you grow as a photographer. When shooting in low-light situations, it’s important to find a balance between a fast enough shutter speed to avoid camera shake and allowing enough light into the sensor by adjusting your aperture or ISO sensitivity.
Avoiding high ISO noise can be achieved by using larger apertures or utilizing noise reduction software during post-processing. Correcting blurred images can be achieved by using proper focusing techniques such as choosing the right autofocus mode or opting for manual focus if necessary.
If you find yourself overexposing images, try reducing your aperture size or increasing your shutter speed to let less light in. Remember that landscape photography often requires smaller apertures (higher f-numbers) to achieve a wide depth of field and maintain sharpness from front to back.
By understanding the technical aspects of manual mode while also considering compositional elements such as leading lines or the rule of thirds, you’ll be able to create captivating landscape photographs. Mastering manual mode on your DSLR is an empowering journey that allows you full creative control over your photographs.
Embrace it as an opportunity to grow as a photographer while pushing yourself out of your comfort zone. With practice and perseverance, soon you’ll find yourself effortlessly adjusting exposure settings to capture stunning images in any situation.
So grab your camera, venture out, and embark on this exciting adventure that will expand not only your technical skills but also your artistic vision. Happy shooting!

Comments are closed.