If you’re a seasoned photographer or just starting, understanding exposure is crucial to capturing stunning photos. Exposure refers to the amount of light that enters the camera and how it affects the brightness, contrast, and detail in your photographs. Achieving the perfect balance of light is vital in photography, and it can be achieved with the right camera settings.
This guide will give you a comprehensive understanding of exposure and the exposure triangle, which comprises aperture, shutter speed, and ISO. You’ll learn how each of these settings contributes to the overall exposure of your photos and how to adjust them to control the amount of light entering your camera effectively.
Whether you’re looking to improve your photos or delve deeper into photography, this guide is for you. Read on to learn more about understanding exposure and taking your photography skills to the next level.
Key Takeaways
- Understanding exposure is crucial in achieving the perfect balance of light in your photos.
- The exposure triangle comprises aperture, shutter speed, and ISO, and adjusting these settings can effectively control the amount of light entering your camera.
- Mastering exposure control can enhance your photography skills and ensure stunning images.
The Exposure Triangle: Aperture, Shutter Speed, and ISO
Understanding the exposure triangle is essential if you want to take full control of your camera and capture well-exposed photos consistently. The exposure triangle consists of three elements: aperture, shutter speed, and ISO.
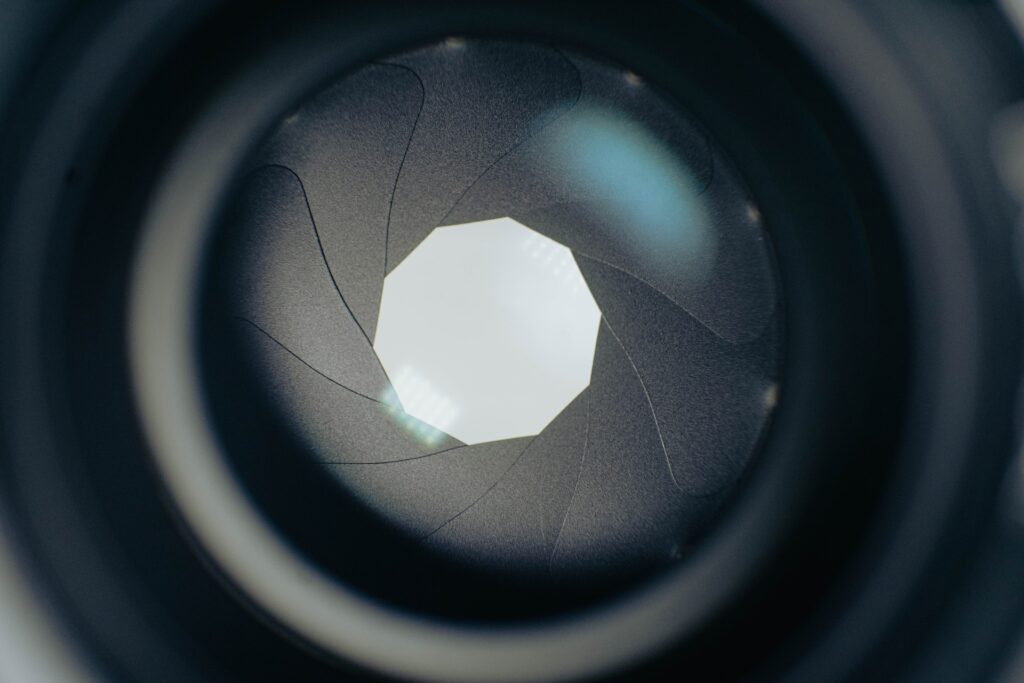
Aperture refers to the size of the opening in the lens through which light enters the camera. The size is measured in f-stops, and a larger number indicates a smaller aperture. Aperture influences the depth of field in your photos, with a larger aperture resulting in a shallower depth of field and a smaller one resulting in a deeper depth of field.
Shutter speed determines the length of time that the camera’s sensor is exposed to light. A faster shutter speed results in less motion blur, while a slower shutter speed results in more motion blur. Shutter speed is also useful for controlling the exposure of your photos in different lighting conditions, and it can be used creatively to capture unique effects.
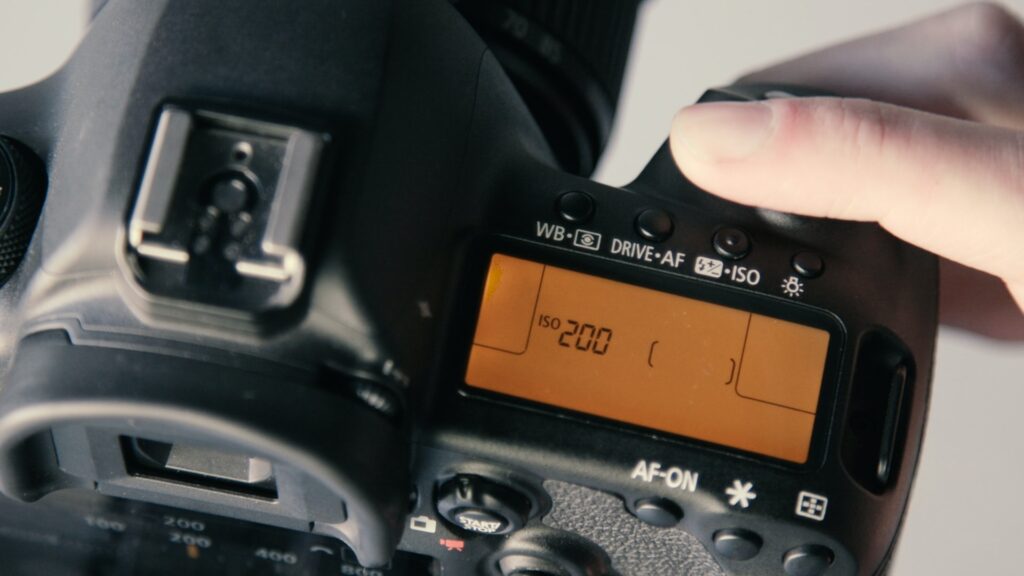
ISO refers to the camera’s sensitivity to light. A higher ISO setting allows you to capture photos in low light conditions, but it also results in more image noise or graininess. It’s generally best to use the lowest possible ISO setting to achieve the desired exposure.
| Element | Effect |
|---|---|
| Aperture | Determines depth of field |
| Shutter Speed | Controls motion blur |
| ISO | Affects image noise |
When you adjust one element of the exposure triangle, you need to compensate with another element to maintain the balance of exposure. For example, if you increase the aperture size to achieve a shallow depth of field, you’ll need to increase the shutter speed or decrease the ISO to avoid overexposure.
Mastering the exposure triangle takes practice, but understanding the relationship between aperture, shutter speed, and ISO is fundamental to improving your photography skills.

Mastering Aperture for Proper Exposure
Aperture, the opening in your camera’s lens, is one of the most important settings for achieving proper exposure. It determines the amount of light entering the camera and affects depth of field, or the range of distance that appears in focus in your photo.
When selecting your aperture, keep in mind that a lower f-number (such as f/2.8) will result in a wider opening and more light entering the camera. A higher f-number (such as f/16) will result in a narrower opening and less light entering the camera.
Aperture also affects the depth of field in your photos. A low f-number will result in a shallow depth of field, meaning only a small portion of your image will be in focus. This can be effective for portraits or artistic shots where you want a blurred background. A high f-number will result in a deep depth of field, meaning more of your image will be in focus. This is ideal for landscapes or photos where you want everything in focus.
It’s important to note that aperture settings can also affect image quality. Using very low f-numbers can lead to distortion and softness in your images. To avoid this, try to use your lens’s sweet spot – the aperture where your lens is sharpest, typically around f/8 or f/11.
To take full control of your aperture settings, switch your camera to Aperture Priority mode (usually marked as “Av”). This mode allows you to set the desired aperture while your camera adjusts the shutter speed to maintain proper exposure.
Remember, the aperture you choose can drastically alter the mood and feel of your photos. Experiment with different settings to see how they affect your images.
| Advantages | Disadvantages |
|---|---|
| Allows control over depth of field | Using very low f-numbers can lead to distortion and softness in your images |
| Can create a shallow depth of field for creative effects | Using very high f-numbers can result in diffraction and loss of sharpness |
| Ideal for low light situations where a faster shutter speed is needed | May require the use of a tripod or other stabilization equipment to avoid camera shake |
Understanding Shutter Speed for Perfectly Exposed Images
Shutter speed is a crucial component of exposure control, allowing you to freeze action or create artistic motion blur effects in your photographs. By adjusting the shutter speed, you can control the amount of time the camera sensor is exposed to light, determining the amount of motion blur in the image.
In general, faster shutter speeds are used to freeze action and eliminate motion blur, while slower shutter speeds are used to create artistic blur effects and convey motion. However, the ideal shutter speed also depends on the available light and the focal length of the lens.
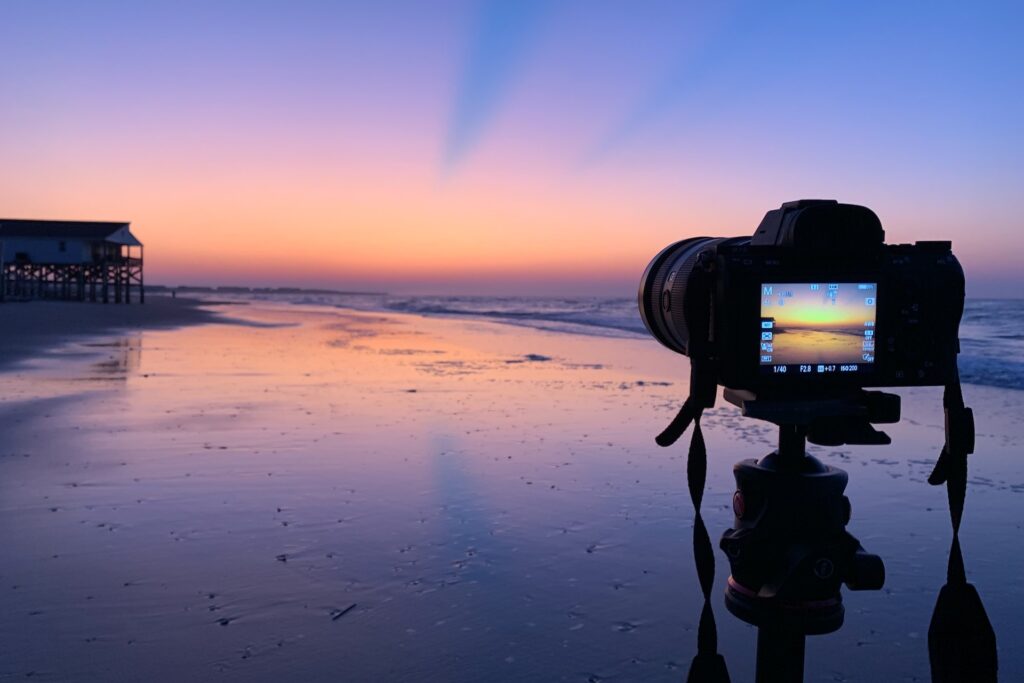
For example, for handheld shots, it is recommended to select a shutter speed that matches or exceeds the focal length of the lens, such as 1/125 sec for a 100mm lens, to avoid camera shake and blurry images. Additionally, when shooting in low light conditions, you may need to use longer shutter speeds and a tripod to avoid camera shake and ensure sharp images.
When selecting the appropriate shutter speed, keep in mind that it also affects the overall exposure of the image, so you may need to adjust the aperture and/or ISO settings accordingly to achieve proper exposure.
Another factor to consider when working with shutter speed is the effect of the available lighting. In bright daylight, you may need to use faster shutter speeds to avoid overexposure, while in low light conditions, you may need to use longer shutter speeds to capture enough light.
When shooting moving subjects, it is recommended to use a faster shutter speed, such as 1/500 sec or higher, to freeze the action and avoid motion blur. On the other hand, when photographing flowing water or moving cars, you may want to use a slower shutter speed, such as 1/15 sec or slower, to create a sense of motion and blur.
Overall, understanding shutter speed and its impact on exposure is key to achieving perfectly exposed images. By practicing and experimenting with different shutter speed settings, you can create stunning images with unique and creative effects.

Optimizing ISO: Balancing Sensitivity and Image Quality
ISO measures the sensitivity of your camera’s sensor to light, with higher values making the sensor more sensitive to light. While this may sound desirable, it comes with a trade-off: higher ISO settings also increase the chances of noise and decreased image quality. So, how do you strike the right balance between sensitivity and image quality?
When shooting in low light conditions, such as indoors or at night, increasing the ISO can help you achieve a well-exposed image without needing to use a slow shutter speed or wide aperture. However, in bright light conditions, a lower ISO value can help maintain high image quality and reduce noise.
To optimize your ISO settings, start by setting the ISO to its lowest value (usually 100 or 200) in bright conditions. If the image appears underexposed or you need a faster shutter speed, gradually increase the ISO until you achieve the desired exposure.
It’s important to note that each camera has a different threshold for acceptable noise levels, so experiment with different ISO settings on your camera to determine the maximum value you can use without compromising image quality.
As a general rule of thumb, try to keep your ISO as low as possible while still achieving your desired exposure. This will help you produce images with high quality and minimal noise, resulting in sharper and more detailed photos.
Pro Tip: Some cameras offer “Auto ISO” settings that adjust the ISO automatically based on the lighting conditions. While this can be a useful feature, be aware that the camera may set a higher ISO than necessary, causing unnecessary noise in your images. You can also set a maximum ISO value for your camera to cap the highest ISO it can use.
Tips for Handling Tricky Lighting Situations
As a photographer, you will inevitably encounter tricky lighting situations that can make it difficult to achieve proper exposure. Here are some lighting techniques and exposure control tips to help you navigate these challenges and capture stunning images.
Backlighting
Backlighting occurs when the main light source is behind your subject, causing your subject to be in shadow. This can result in an underexposed subject or a blown-out background. To handle backlighting:
- Use spot metering to meter your subject’s face or body
- Increase your exposure compensation by 1 or 2 stops to properly expose your subject
- Use fill flash to add light to your subject’s face or body
By properly exposing your subject, you can create a dramatic silhouette or bring out details in your subject’s face or body.
Low Light Conditions
Low light conditions can make it challenging to achieve proper exposure without introducing noise or motion blur. Here are some tips for handling low-light conditions:
- Use a tripod or stabilize your camera to prevent motion blur
- Open up your aperture to let in more light
- Increase your ISO to make your camera more sensitive to light
- Use a slower shutter speed to capture more light, but be careful not to introduce motion blur
- Consider using a flash or continuous lighting to illuminate your subject
By using these techniques, you can capture sharp, well-exposed images in low-light conditions.
High Contrast Scenes
High-contrast scenes have a significant difference between the brightest and darkest parts of the image, making it difficult to achieve proper exposure without losing details. To handle high-contrast scenes:
- Use exposure bracketing to capture multiple exposures and blend them in post-processing
- Use HDR (high dynamic range) mode on your camera to capture multiple exposures and blend them in-camera
- Use a graduated neutral density filter to reduce the brightness of the sky or other bright areas
- Use a reflector or fill flash to add light to the shadow areas
By using these techniques, you can capture detailed images in high-contrast scenes without losing details in the highlights or shadows.
Artificial Lighting
Artificial lighting can create color casts and make it challenging to achieve proper exposure. To handle artificial lighting:
- Use custom white balance to correct color casts or adjust the white balance in post-processing
- Adjust your exposure compensation to compensate for the bright or dark areas
- Use a color checker to create a custom color profile for your camera
By properly adjusting your settings and correcting any color casts, you can achieve accurate exposure in images taken with artificial lighting.
| Key Lighting Techniques | Exposure Control Tips | Photography Tips |
|---|---|---|
| Backlighting | Use spot metering, increase exposure compensation, and use fill flash | Properly exposing your subject can create a dramatic silhouette or bring out details in their face or body |
| Low Light Conditions | Use a tripod, open up your aperture, increase your ISO, use slower shutter speed, use flash or continuous lighting | By using these techniques, you can capture detailed images in high-contrast scenes without losing details in the highlights or shadows |
| High Contrast Scenes | Use exposure bracketing, use HDR mode, use a graduated neutral density filter, use a reflector or fill flash | Use exposure bracketing, use HDR mode, use a graduated neutral density filter, use reflector or fill flash |
| Artificial Lighting | Use custom white balance, adjust exposure compensation, use a color checker | By properly adjusting your settings and correcting any color casts, you can achieve accurate exposure in images taken with artificial lighting |
Remember, the key to handling tricky lighting situations is to be flexible and adapt to the changing conditions. By mastering exposure control and lighting techniques, you can capture stunning images in any lighting scenario.
Understanding Exposure Compensation
One of the most important aspects of achieving correct exposure is understanding exposure compensation. Exposure compensation allows you to adjust the brightness of your photos beyond what the camera’s automatic settings would normally allow. It’s useful when you want to brighten or darken the image to achieve the desired effect.
The exposure compensation feature is typically found as a button with a +/- symbol on your camera. When you press it and adjust the dial, you can increase or decrease the exposure level in increments of one-third or half-stops.
Exposure compensation is particularly useful in situations where the camera’s automatic exposure settings may not be accurate, such as shooting in backlighting or low light conditions. By using exposure compensation, you can ensure that the subject is correctly exposed, and the background isn’t overexposed or underexposed.
When using exposure compensation, it’s essential to pay attention to your camera’s metering mode. If your camera is set to evaluative metering, it will consider the entire scene when setting the exposure. If it’s set to spot metering, it will consider only the center of the frame. Be sure to adjust your exposure compensation based on the metering mode used, as it can affect the overall exposure of the image.
Using exposure compensation effectively takes practice. Start by experimenting with different settings in different lighting conditions and reviewing the results. Over time, you’ll gain a better understanding of how exposure compensation can be used to achieve the desired exposure.
Tip: When shooting in tricky lighting situations, use exposure compensation to adjust the brightness of your photos and ensure accurate exposure.
Metering Modes: Making the Most of Your Camera’s Light Meter
Understanding your camera’s metering modes is essential for achieving accurate exposure in your photos. Metering modes help your camera determine the correct exposure settings by measuring the amount of light in a scene. There are three main metering modes: spot metering, center-weighted metering, and evaluative metering.
Spot metering: This mode measures the light in a small, specific area in the center of your frame, allowing you to meter for a particular subject or object. Spot metering is useful in situations where you want to meter for a specific area or object, rather than the overall scene.
Center-weighted metering: This mode measures the light in the center of your frame, giving priority to the subject in the middle. It is especially useful for portraits or situations where the subject is in the center of the frame.
Evaluative metering: This mode measures the light in the entire scene and provides an average exposure reading. Evaluative metering is useful when shooting landscapes, where the lighting conditions can vary across the frame.
It’s important to note that each metering mode has its strengths and weaknesses, and the mode you choose will depend on the shooting scenario. For instance, evaluative metering might not work well in high-contrast scenes, while spot metering might not be suitable for scenes with widely varying lighting conditions.
To change your camera’s metering mode, consult your camera’s manual. Most cameras allow you to switch between different metering modes through the camera menu or a dedicated button on the camera body.
By mastering your camera’s metering modes, you can take better control of exposure and capture more accurately exposed images. Experiment with different modes to discover which ones work best for your shooting style.
Having a basic understanding of metering modes is just one step toward mastering exposure control. In the next section, we will discuss dynamic range and histograms, and how they can help you achieve optimal exposure in your photos.
Understanding Dynamic Range and Histograms
Dynamic range refers to the difference between the darkest and brightest parts of an image. A camera’s sensor can only capture a certain range of brightness at a time, which can be challenging when photographing scenes with high contrast.
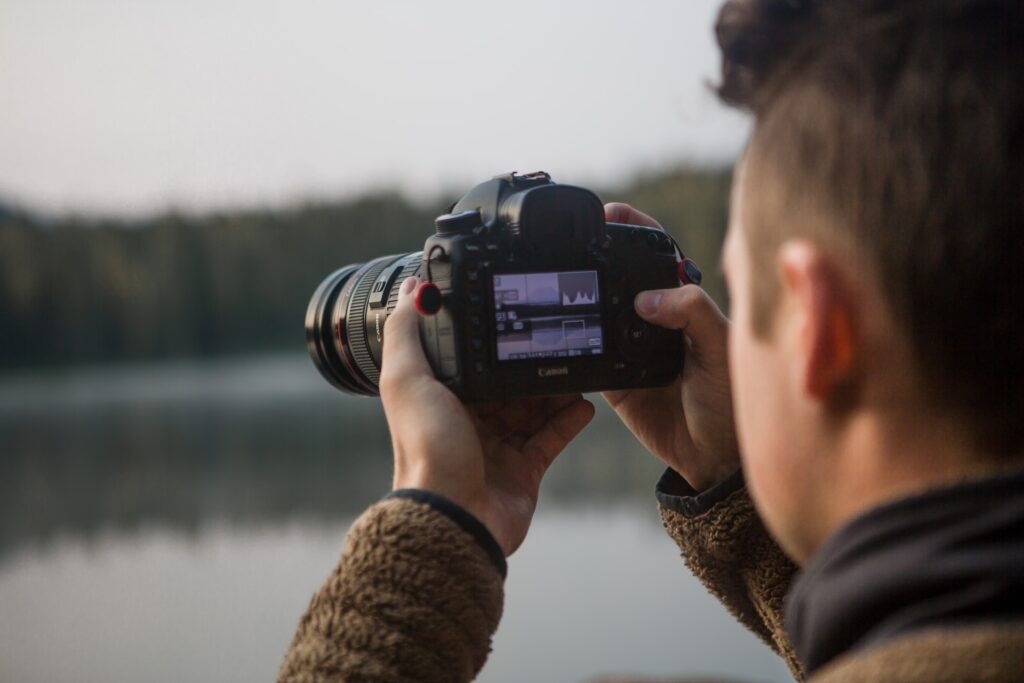
Histograms are a useful tool for evaluating exposure and dynamic range in your photos. A histogram is a graph that shows the distribution of brightness levels in an image. The left side represents the darkest parts of the image, while the right side represents the brightest. The height of each column shows the number of pixels in that brightness range.

When viewing a histogram, it’s important to ensure that the graph is not clipped on either end. Clipping occurs when the brightness levels exceed the range that the camera can capture, resulting in a loss of detail in the highlights or shadows.
For images with high contrast, it can be challenging to capture all the detail in both the shadows and highlights. In this case, it may be necessary to capture multiple exposures and blend them together in post-processing to create a final image with optimal exposure and dynamic range.
Using Exposure Bracketing for High-Contrast Scenes
If you’re struggling to capture the full dynamic range of a high-contrast scene, exposure bracketing can help you achieve the perfect balance in your photos. This technique involves taking multiple shots of the same scene at different exposure levels, ranging from overexposure to underexposure, and combining them into a single image.
To use exposure bracketing, first set your camera to Aperture Priority mode and adjust your aperture for the desired depth of field. Then, turn on exposure bracketing in your camera settings, selecting the number of shots and the exposure increments you want to use.
For example, if you choose to take three shots with a one-stop exposure bracketing setting, your camera will take one shot at the standard exposure level, one shot that is one stop underexposed, and one shot that is one stop overexposed.
Once you have taken your bracketed shots, you can combine them using HDR software or manually in an image editing program. This will give you a final image with balanced exposure throughout and maximum detail in both the highlights and shadows.
Exposure bracketing is especially useful for landscape photography, where the sky is much brighter than the foreground. By using exposure bracketing and merging the images, you can capture all the details and colors in both the sky and the landscape below.
Remember to use a tripod when taking bracketed shots to ensure that each photo is aligned perfectly. This will also aid in post-processing, as it will be easier to merge the images together.
Using exposure bracketing can be a powerful tool for achieving perfectly exposed images in high-contrast situations. With the help of this technique, you can capture all the details and colors in both the highlights and shadows, resulting in stunning, well-balanced photographs.
Summary
Understanding exposure is fundamental to capturing great photos. By mastering the exposure triangle and adjusting aperture, shutter speed, and ISO, you can achieve the perfect balance of light in your images. Remember to consider the lighting conditions and adjust your settings accordingly to ensure well-exposed photos.
Handling tricky lighting situations may require additional techniques like exposure compensation and metering modes. Understanding dynamic range and histograms can also help you evaluate exposure more accurately. If you’re dealing with high-contrast scenes, exposure bracketing can be useful in capturing a range of exposures for better detail retention.
By applying the principles outlined in this guide, you can take your photography skills to the next level. Keep practicing and experimenting with different settings to find your unique style and perspective.
FAQ
Q: What is exposure?
A: Exposure refers to the amount of light that enters the camera when taking a photograph. It determines how bright or dark your image will appear.
Q: Why is understanding exposure important in photography?
A: Understanding exposure is essential because it allows you to have control over the brightness and darkness of your photos. It helps you capture the scene exactly the way you envision it.
Q: What is the exposure triangle?
A: The exposure triangle refers to the three key elements that determine exposure: aperture, shutter speed, and ISO. These settings work together to control the amount of light that reaches the camera’s sensor.
Q: How does aperture affect exposure?
A: Aperture refers to the size of the opening in the lens through which light enters the camera. It affects the depth of field and the amount of light that reaches the sensor. A smaller aperture (higher f-number) lets in less light, while a larger aperture (lower f-number) allows more light.
Q: What is shutter speed and how does it impact exposure?
A: Shutter speed determines the length of time the camera’s shutter remains open, allowing light to reach the sensor. A faster shutter speed captures less light and freezes motion, while a slower shutter speed captures more light and can create motion blur.
Q: What is ISO and how does it affect exposure?
A: ISO refers to the sensitivity of the camera’s image sensor to light. A higher ISO setting increases sensitivity, allowing you to capture images in low light conditions. However, higher ISO values can also introduce digital noise, affecting image quality.
Q: How can I handle tricky lighting situations?
A: To handle challenging lighting scenarios, you can use techniques such as adjusting exposure compensation, using fill flash, or creating a custom white balance. Understanding exposure will help you make the necessary adjustments to capture well-exposed photos in any lighting condition.
Q: What is exposure compensation?
A: Exposure compensation allows you to manually adjust the exposure set by your camera’s light meter. It enables you to make your images brighter or darker based on your creative preferences or to compensate for challenging lighting situations.
Q: What are metering modes?
A: Metering modes determine how the camera measures light to calculate the exposure. Different metering modes, such as spot metering, center-weighted metering, and evaluative metering, provide different ways of assessing the light in a scene.
Q: What is dynamic range, and how do histograms relate to exposure?
A: Dynamic range refers to the range of tones, from dark to light, that a camera can capture. Histograms are graphical representations of this tonal range. By evaluating the histogram, you can determine whether your image is properly exposed or if you need to make adjustments.
Q: How can exposure bracketing help in high-contrast scenes?
A: In high-contrast scenes where there are both bright highlights and deep shadows, exposure bracketing allows you to capture a series of images at different exposure settings. This technique ensures that you have a variety of exposures to choose from, so you don’t lose detail in the highlights or shadows.


Comments are closed.